Have A Sweet Easter DIY Tutorial

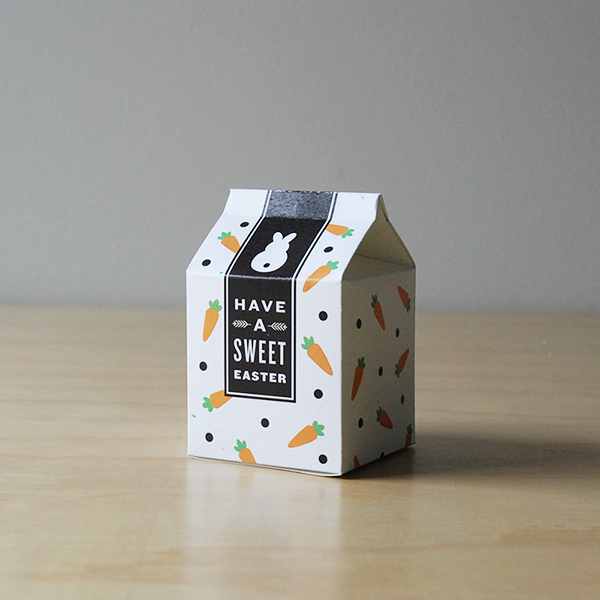
Easter is approaching fast, which means it’s time to bring out your Sunday best and pick up some sweet treats. And if you feel like sharing some of the latter, these DIY milk carton templates are a cinch to put together. Just download and print the template below and follow these simple instructions for a sweet Easter gift for family and friends.
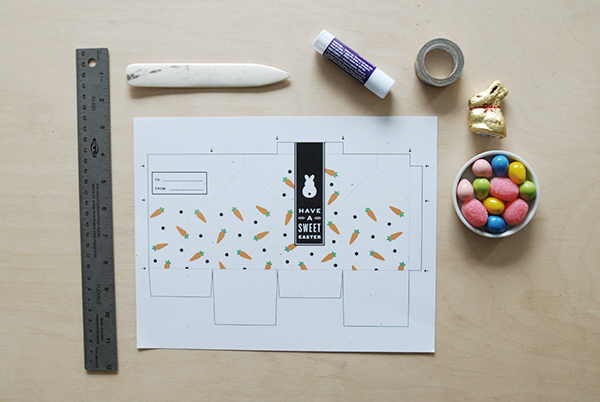
3_Easter_materials

Materials
– Printed template (cardstock or a stiffer paper stock works best)
– Scissors or X-acto knife
– Ruler
– Bone folder or other tool for scoring paper
– Glue stick or double-sided tape
– Easter treats
– Sticker or washi tape

5_EasterCarton_guide

4_Easter_steps

Steps

1.  Print out the template. Fill out the “To” and From” portion. Line up a ruler with the corresponding arrows score along the indicated lines (see guide above).

2. Cut out the template and fold along the scored lines.

3. Fold the template into a box and seal side and bottom tabs in place using a glue stick or double-sided tape.

3. Fill with your Easter treats. Gently press in the scored/folded sides of the box to bring the top edges together—exactly like a milk carton!

4. Fold over the top and seal with stickers or washi tape.

2_Easter_candy

Tutorial and template design by Melanie Kwan.

DIY – Painted Stone Incense Garden

As the summer winds down and the days are long and sunny we all have slowed down considerably. The chill factor has definitely been increased around the office as everyone is enjoying these last days of relaxation, and talk of lazy days, cool evenings and campfires has definitely been dominating our day-to-day. This instinct to slow down is what inspired us to create an incense based DIY.

You will need a large flat dish, some beach stones, some sifted beach sand (a bit of a theme is developping here) and some acrylic craft paint.We painted our stones freehand with stripes and geometric shapes but you can also use masking tape to create a cleaner line. We also used the head of a nail to stamp dots in our patterns, or you can use a gold or silver gel pen to glam up your stones.


1

Next, fill your dish with sand, this acts as a base for the incense to stick into, an easy cleanup because the ash will just mix with the sand, and prevents a fire hazard; just stick the burning head of the incense in the sand to put it out.

2

Then arrange your stones around the edge for decoration, light some incense and enjoy a fragrant sunset.

3


DIY: Vintage Soft T-Shirt

Here at Front & Company, we like making the old new again! As a consignment store, we have a soft spot in our hearts for all things old, and love the feel of a pre-loved item! Speaking of soft spots, a soft vintage t-shirt is an item that we can’t get enough of.

There is nothing that beats the softness of a vintage tee. The way they hang on the body is one of our favorite things! The softness of a vintage tee is achieved by many years of wearing and washing, but we were determined to figure out a way to make our new t-shirts feel like they’ve been loved for a couple decades.

To achieve the softness of a vintage tee in your new t-shirts, we’re going to use a salt water bath to speed a process that normally takes decades of wear!

2vintagesoft

The process is actually quite simple. All you need is a quart of water and 1/2 cup of salt. Add the salt to the water in a large bucket and dunk your favorite new t-shirt in there. Leave the t-shirt in there for 3 days.

Once the 3 days are up, throw the t shirt into the washing machine and voila! It comes out vintage soft.

With this hot weather, maybe you’d like to cut off the sleeves as well and turn your newly-old tee into a vintage-inspired muscle shirt!

A tee fit for summer! Let us know if you tried this out and how it works for you!